No Hassle Tassels: How to Make a Tassel 4 Easy Ways

There's no doubt that tassels are the new trend when it comes to crafting - and clothing - which is why it's absolutely essential you learn how to tie a tassel. Follow these No Hassle Tassels: How to Make a Tassel 4 Easy Ways for everything you need to know to make the perfect accessory every time.
You can add decorative tassels to handbags, shirts, and even shoes for fun gifts for yourself and friends. You can't go wrong with adding a bright and colorful tassel to your crafts, clothes, and more for a stylish and fresh way to spice up your day.
Tassels come in all shapes and forms, and you'll learn how to make tassels using a variety of materials from leather and yarn to tissue paper and beads. Don't worry, making your own tassels is enjoyable and easy so you can sit back and watch your accessories come to life with a little tassel flair. There are so many different ways to use tassels to decorate that you'll never run out of crafts that call for tassel know-how.

Basic DIY Tassel with Yarn or Embroidery Thread
Materials:
Scissors
Yarn or embroidery thread
Cardboard
Glue
- Cut a rectangular piece of cardboard. The length of your cardboard rectangle will determine the length of your tassel, so be sure that it is around the desired length. However, it's always better to make it longer than desired and trim it later since your tassel can always be made shorter, but not longer.
- Begin wrapping yarn or thread around the cardboard rectangle. Wrap the yarn or thread around the cardboard tightly until it reaches desired fullness. For tassels of different sizes you can use cardboard cut-outs of different lengths to make your tassel longer or shorter.
- Remove wrapped yarn or thread from around the cardboad rectangle. Maintain its shape and lay it neatly on your work surface.
- Cut a 5" piece of yarn or thread. Tie this into a knot around the center of your looped yarn or thread from the previous step. Pull the remaining strands of your knot upwards and the looped yarn or thread halves downward.
- Snip through the looped ends. Arrange the snipped strands into a tassel form.
- Cut a 12" piece of yarn or thread. Make a loose loop about 1/2" down from the top of your tassel. Begin tightly wrapping both ends of the loop around the tassel. When you are finished wrapping the neck of your tassel, tie the ends into a knot and secure with a drop of glue.
- Trim off any excess. If you want your tassel to be shorter, trim the bottom portion. If you have leftover strands of yarn or thread from wrapping the neck, trim those as well.
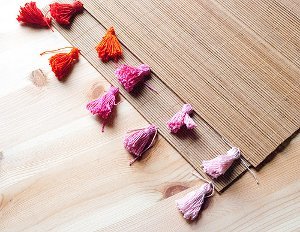
DIY Leather Tassel
Materials
8.5 x 11' inch sheet of leather
Scissors
Hot glue and glue gun
- Cut an inch off the width of your leather sheet. You will have one strip of leather about an inch wide.
- Cut the strip from the previous step in half lengthwise. You should have 2 long, thin strips of leather. You will use one of these strips later for creating a loop for your tassel to be attached to larger projects.
- Flip your larger rectangular piece of leather over so the back is facing upwards. Draw a line lengthwise from one side to the other about 1" down from the top. This will mark the ends of your vertical strips in the next step, which will form the tassel.
- Begin cutting vertical strips of leather that end at the line made previously. These strips should be about 1/4" wide.
- Place a dot of glue on the back of your leather piece in the right-hand corner. Lay one end of a thin strip of leather from step 2 on the glue, adjusting the length according to how big you want your loop to be. Add another dot of glue to the thin strip and fold down forming a loop at the top of your tassel.
- Tightly begin rolling your leather with the loop at the top. Secure with glue as you roll. You should have now formed a leather tassel with a small loop at the top.
- Set aside. Let your tassel dry completely and enjoy!
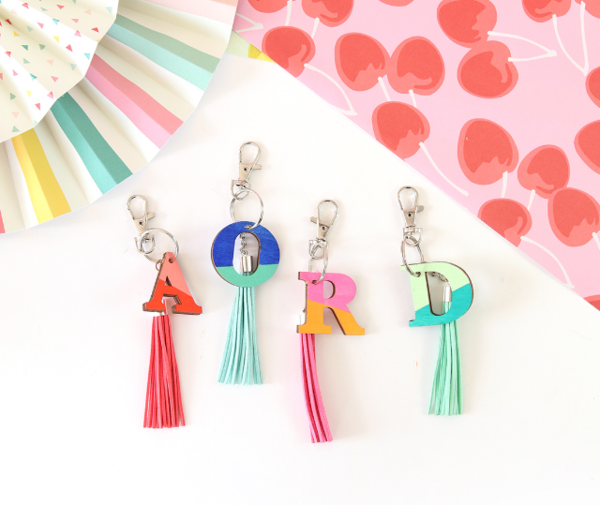
Everything You Need to Make a Tassel
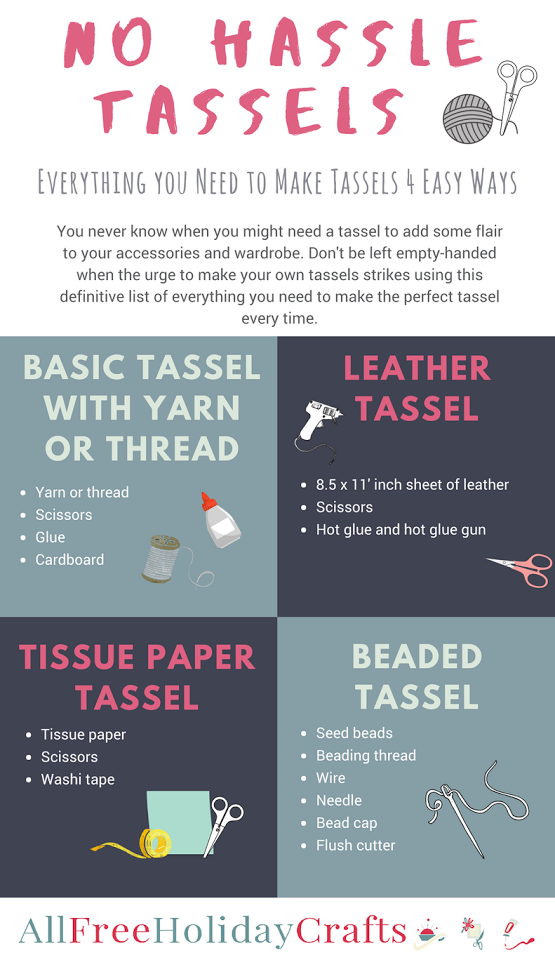
Download our infographic of the best materials to use for making a tassel 4 easy ways! Never be caught without the necessary supplies when the need for tassels arises. You can't go wrong with these basic supplies!
Easy Tissue Paper Tassels
Materials:
Tissue Paper
Scissors
Washi Tape
- Start with one full sheet of tissue paper. Fold it in half horizontally, then fold it in half widthwise.
- Cut along one of the folds. You should have two sheets of tissue paper. Stack these two sheets together positioned the same way with their folds at the top.
- Begin cutting vertical lines, maintaining the folds. Leave 1" of uncut tissue at the top of the sheets. Your vertical strips can be as thick or as thin as you'd like.
- Unfold your two sheets of tissue paper separately. You should now have horizontal strips all along the edges when the paper is laid flat in portrait orientation. You should also have about 2" of uncut space in the middle of the tissue paper.
- Roll one sheet of tissue paper vertically. Tightly roll the uncut middle section to the other side with the cut strips hanging loosely on the sides.
- Fold the twist down in the middle. The vertical strips should be hanging loosely down with a loop at the top.
- Wrap a piece of a washi tape around the loop. Wrap washi tape around the neck of the loop, maintaining an open space for the tassel to be attached to other projects later on.

How to Make Beaded Tassels
Materials:
Seed beads
Beading thread
Wire
Needle
Bead cap
Flush cutter
- Cut a 3" piece of wire using a flush cutter. Make a wire-wrapped loop at one end that is small enough so your seed beads don't slide through.
- Knot a bead to the end of your thread. Make sure your thread is fairly long.
- Feed one end of the the thread with the knotted bead through your wire-wrapped loop. String your desired amount of beads onto the thread that you fed through the loop.
- Using your needle, feed the remaining thread back through the beads. Be sure to skip the last bead you attached.
- Feed the the thread through the wire loop. String beads onto this thread, repeating the process.
- Repeat until you reach desired thickness. Make sure to always skip the last bead when feeding the thread back through the beads and wire loop.
- Tie off the ends to secure the tassel. Add your bead cap and make another wire-wrapped loop at the top to attach your tassel to other projects.
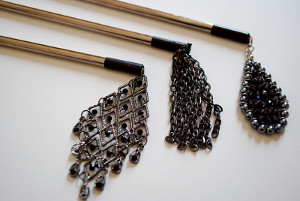
What will you use tassels for? Share with us in the comments below!
Read NextBeach Bleach T Shirt
Your Recently Viewed Projects
flowergirl
May 21, 2018
I've been looking for great stashbuster and this fits right in. When I make them using yarn, I use them as decorative edging for my placemats or kitchen towels. If I use leather, then I make a key holder or a bookmark. If I have some embroidery floss left over, I make some funky earrings.
shilohdana
Aug 27, 2017
I love tassels and this is a great tutorial on how to make them! I would love to use them for garlands, on the corners of pillows and as accents on some clothing. They are so versatile and can be made out of many different materials, so fun! I can't wait to try these for fall dcor and Christmas too.
msdeb21
Aug 26, 2017
I am ready to make tassels! I love the look, and I have lots of yarn, embroidery thread, and beads to get started. I have so many ideas of how to use tassels in my home decor and for my jewelry accessories. Just by changing the material and the colors of the tassels, the ideas are endless!
Report Inappropriate Comment
Are you sure you would like to report this comment? It will be flagged for our moderators to take action.
Thank you for taking the time to improve the content on our site.

