How to Make a Wooden Turkey Decoration
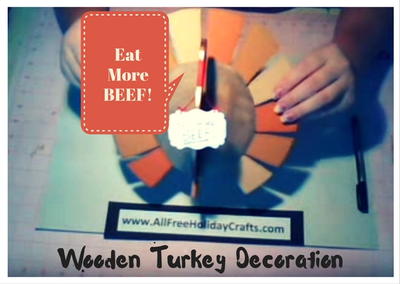
Dress up your dining room table with this pretty painted Thanksgiving turkey craft. Using wooden cutouts and bold hues you can create a beautiful Thanksgiving decoration in a few easy steps. Find out How to Make a Wooden Turkey Decoration with this tutorial from Carlene Eshelman.
Materials:
- Turkey patterns cut out with ¼” wood (pattern 1 and pattern 2)
- 3 different paints for tail
- Dark brown paint for body
- White and black paint for eyes
- Red paint for waddle
- 150 grit sandpaper
- Clear high gloss spray
- Flat paint brush
- Narrow paint brush
Find more great Thanksgiving crafts in our collection of 30+ Last Minute Thanksgiving Craft Ideas!
Instructions:
1. Sand wood pieces to get off any sharp edges.
2. Wipe with damp cloth.
3. Spray both sides of wood with clear gloss. Let dry.
4. Paint feathers of turkey in 3 different colors. Brown paint in a pattern (brown 1, brown 2, brown 3, brown 1, etc.)
5. Paint with 2 coats of paint. Let dry.
6. Paint body of turkey dark brown.
7. Choose a color from your browns to paint the turkey’s feet.
8. Paint waddle red.
9. Paint eye white, then add a dot with the black paint. Let dry.
10. Spray with clear gloss to protect paint.
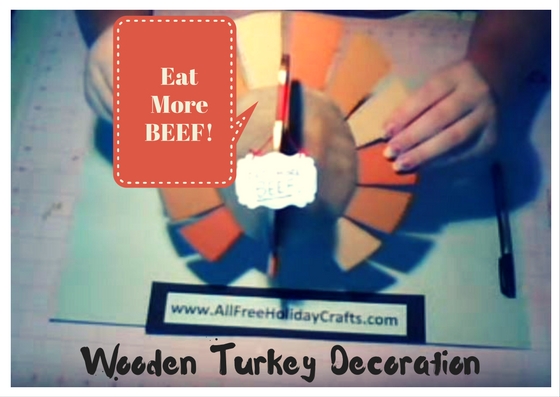
11. Optional: Create sign with cardstock that says “Eat More Beef”.
Video:
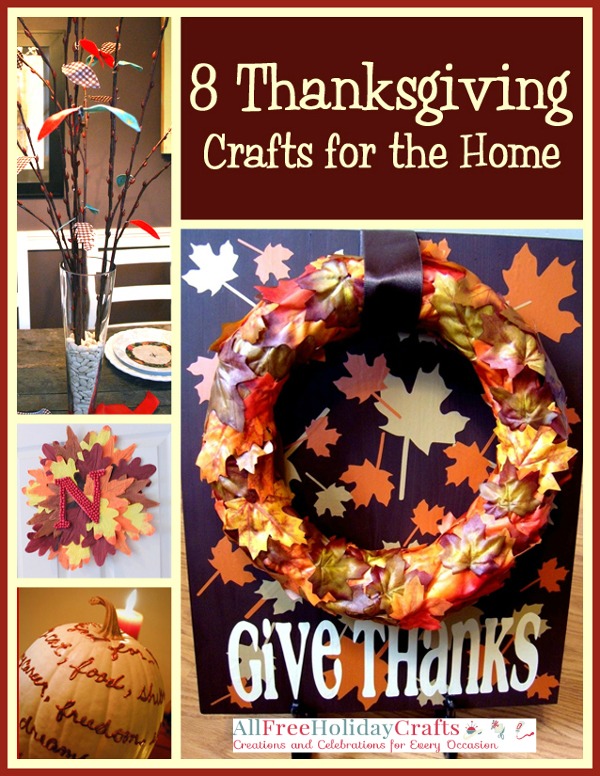
This year, be thankful for your creativity and enjoy your talents with a free, printable collection dedicated to the harvest holiday! From turkey crafts to pumpkin patterns and more, our 8 Thanksgiving Crafts for the Home free eBook is the perfect way to add a touch of the season to your Thanksgiving Day table spread.
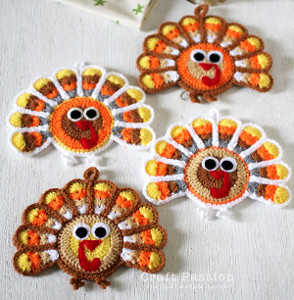
Read NextCrochet Turkey Coasters
Your Recently Viewed Projects
pinkscrapper99 087 2520
Nov 07, 2011
I found this unfinished piece at my local thrift store and thought it would make a cute table decoration!
Report Inappropriate Comment
Are you sure you would like to report this comment? It will be flagged for our moderators to take action.
Thank you for taking the time to improve the content on our site.

