Glittered Bat Headband
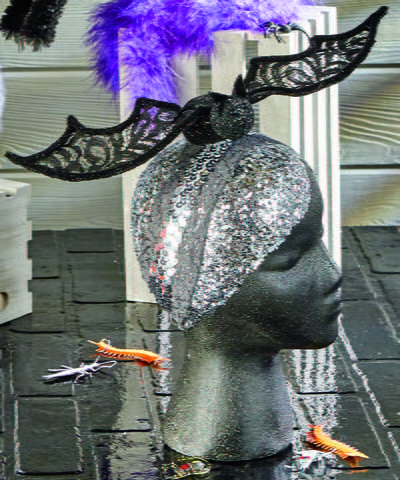
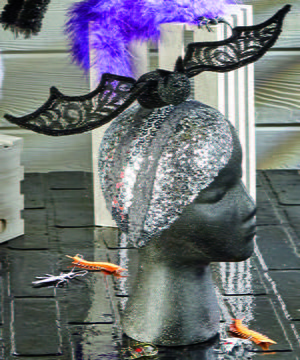 You want to dress up as a bat for Halloween, but you also want to look classy and maybe from the Roaring Twenties. Make this awesome Glittered Bat Headband and you’ll be the prettiest bat at the ball. Your friends will wonder where you got your sophisticated costume and they don’t believe you made it yourself. This DIY Halloween costume is definitely unique and if it’s perfect if you love glitter and a little bit of shine. You won’t regret making this DIY headband for Halloween this year. In fact, you just might want to wear it every year.
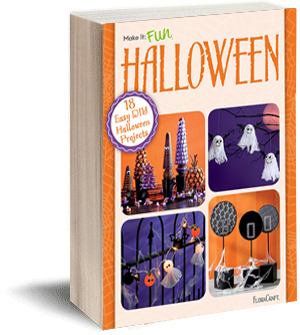
See this and more great Halloween decor ideas in our new eBook, 18 Easy DIY Halloween Projects.
Materials:
- FloraCraft® Make It: Fun® Foam: Egg: 2.5”; Ball: 1.5”
- Acrylic Paint: Black
- Glitter: Black
- Flat Lace: Black
- Duct Tape: Black
- Chenille Stems: Black
- Small Beads: Black
- Elastic Sequin Headband: Silver
- Low-Temp Glue Gun
- Scissors
Intructions:
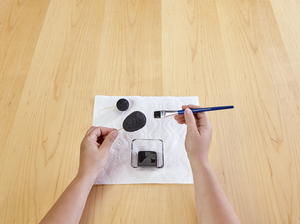
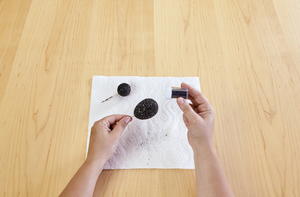
1. Paint the foam egg and foam ball black. Tip: Insert a toothpick into the foam to hold while painting. While the paint is still wet, sprinkle with glitter. Let dry.
2. Twist the ends of two chenille stems together side by side. Bend and shape the stems to form the top and bottom portions of the wing. Leave 1” of stem twisted at the end for attaching to body. Repeat to shape a second wing.
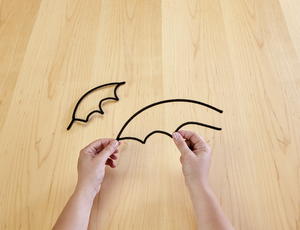
3. Cut a piece of lace slightly larger than the chenille stem wing. Glue the chenille stem wing onto the lace. Use scissors to trim the excess lace.
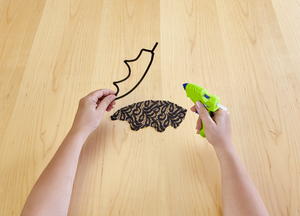
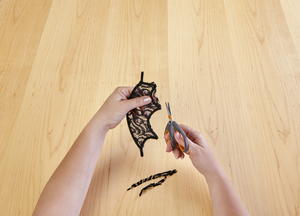
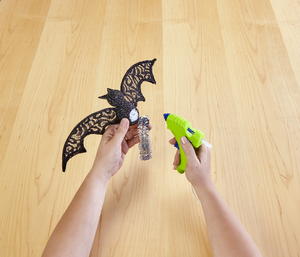
4. Glue the head to the body, inserting a toothpick in between to secure. Glue the wings into each side of the body.
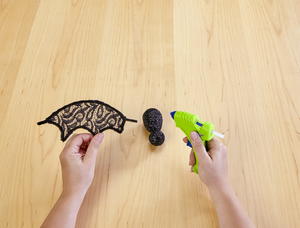
5. Cut out two small, triangle shapes from a folded piece duct tape. To conceal cut edges, brush with black paint and sprinkle with glitter. Glue ears in place on head. Glue two small beads in place for eyes.
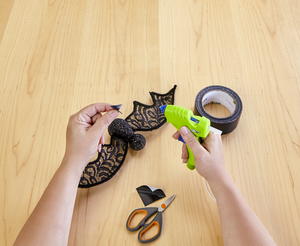
6. Glue bat to headband.

Read NextDIY Shawl Witchy Crochet Pattern

