Lighted Halloween Garland
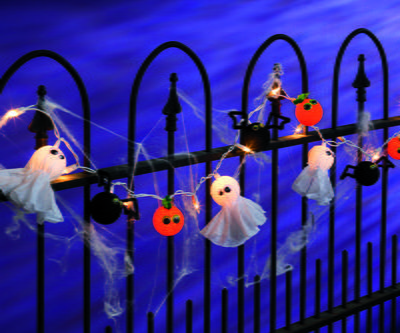
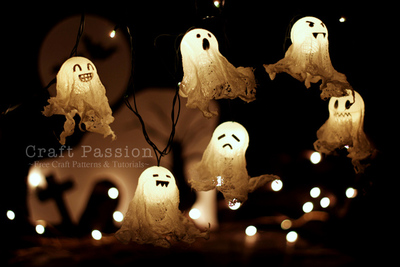
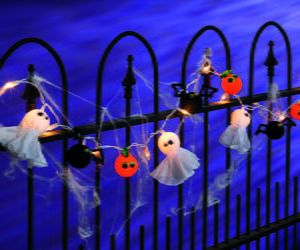 If you would rather decorate your home in a cute way rather than creepy or spooky this Halloween, then this Lighted Halloween Garland is perfect. You can string it over your front door or on the fence. Kids might not be scared of your house this Halloween but they’ll love this DIY Halloween garland. It’s an adorable decoration complete with googly eyes. You and your family can learn how to make Halloween decorations with this holiday craft idea. Sing along to the Monster Mash or tell ghost stories while you decorate together.
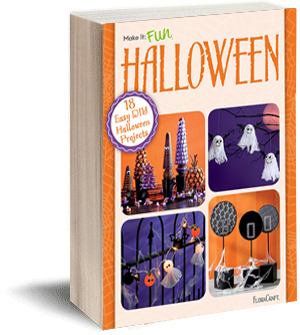
See this and more great Halloween decor ideas in our new eBook, 18 Easy DIY Halloween Projects.
Materials:
- FloraCraft® Make It: Fun® Foam: Balls: 1.5”
- Acrylic Paint: Orange and Black
- Tissue Paper: White and Green
- Wiggle Eyes
- Chenille Stems: Green and Black
- White LED Light Strand
- Low-Temp Glue Gun
- Scissors
- Paint Brushes
- Toothpick
Instructions:
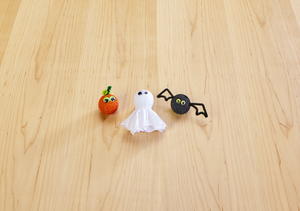
Bat
1. Paint ball black and let dry.
2. Bend lengths of black chenille stems into wing shapes. Glue wings on each of the black balls.
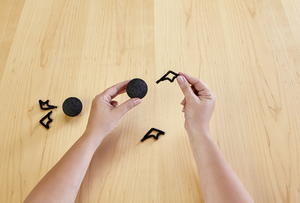
3. Glue wiggle eyes in place.
Pumpkin
1. Paint ball orange and let dry.
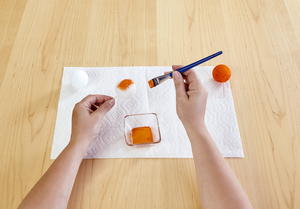
2. Coil a 1” piece of green chenille stem around a toothpick and remove from toothpick. Insert the curly green stem into the top of the orange ball. Glue small pieces of green tissue paper next to the stem for leaves.
3. Glue wiggle eyes in place.
Ghost
1. Cut a 9” circle of white tissue paper. Glue the tissue paper around the top of the ball. Glue the tissue paper in place around the neck as well. Glue wiggle eyes in place.
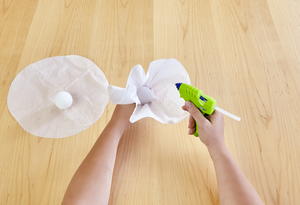
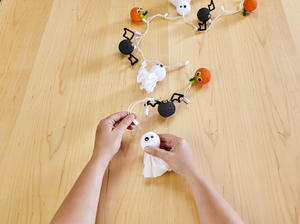
Light Assembly: Insert a lightbulb from the light strand into the top of the balls. If you prefer to keep the bat black and not glow, remove the lightbulb and paint the inside of the hole black and let dry. Reinsert the light.

Read NextSpider Web Doilies

