Crystal Ball and Spider Den
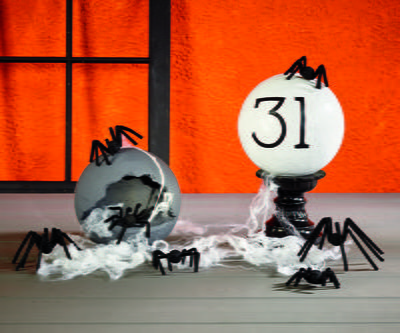 If you’re throwing a Halloween party and want the perfect centerpiece, make this Crystal Ball and Spider Den. It’s spooky, but also a little classy, and it’s guaranteed no one will have the same Halloween decor as you. Make some easy DIY Halloween decorations this year. You’ll love making them and you have the freedom to personalize them however you want. You can match them to a particular color scheme if you want instead of just black and white. Your friends won’t believe that you made everything yourself and you can use them every year.
See this and more great Halloween decor ideas in our new eBook, 18 Easy DIY Halloween Projects.
Materials:
- FloraCraft® Make It: Fun® Foam: Balls: (2) 8” and (10) 1”
- Mosaic Grout: Black and White
- Acrylic Paint: Black
- Copy Paper and Printer
- Matte Finish Decoupage
- (20) Chenille Stems: Black
- Small Black Beads: Black
- Pillar Candle Holder: Black
- Make It: Fun® Foam Cutter or Serrated Knife
- Low-Temp Glue Gun
- Scissors
- Metal Spoon
- Flat Paint Brush
- Black Marker
Instructions:
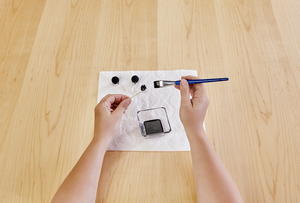
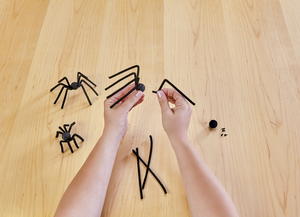
1. Paint the 1” balls black and let dry. Cut eight chenille stem legs for each of the balls, bend and insert four on each side. Cut shorter or longer legs for each body to create the different sized spiders. Glue the black beads in place for the eyes.
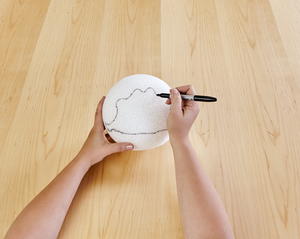
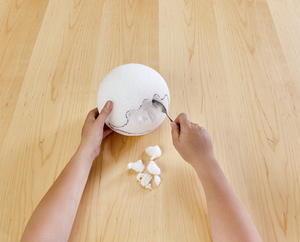
2. Cut a small flat slice from the bottom of both 8” balls. Draw the opening you would like for the spider den with a black marker. Use the metal spoon to scoop the foam for the opening of the den.
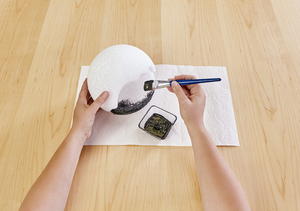
3. Brush a thick coat of the black grout onto the spider den and let dry. Brush a thick coat of the white grout onto the other 8” ball and let dry. Apply a second coat to each ball and let dry.
4. Print out 4” black numbers (31) from a computer. Cut the numbers out and decoupage the numbers onto the front of the white ball. Coat the entire ball with the decoupage for a uniform look. Place the white ball on the candle holder to display.

Read NextShank Button Tree Pillow

