How to Decorate a Paper Mache Egg
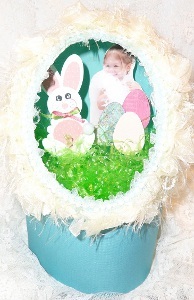
If you want to make out of the ordinary Easter decorations that are cute and personal, simply follow this tutorial for How to Decorate a Paper Mache Egg. You'll discover how to make a beautiful Easter egg design using Mod Podge, paint and a photo that's special to you. Craft designer Carlene Eshelman explains how she made the base of her paper mache Easter egg and also shows how she decorated it with her own personal flair.

Materials:
- Paper mache Easter egg
- Paper punched Easter bunny
- 3 Easter egg cut outs
- 5 pcs. 3”- 4” bamboo sticks
- Photo of your choice
- 3” x 4”x ½” Styrofoam
- Green Easter grass
- Scissors
- Mod Podge (optional)
- Teal acrylic paint
- Ivory acrylic paint
- Two 3” x 12” cardstock strips
- Hot glue gun
- Craft knife
- Liquid glue
- Scotch tape
- 1 yard each of 4” blue trim, ivory rose trim, blue trim, and pearl trim
Instructions:
1. Cut hole in the front of your paper mache egg using craft knife.
2. Paint outside of egg with ivory acrylic paint.
3. Paint inside of egg with teal acrylic paint. Let dry.
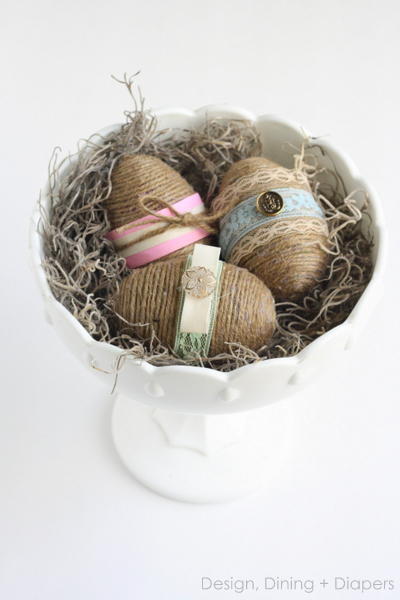
4. Using hot glue gun, cover outside of egg with 4” blue trim.
5. Hot glue ivory rose trim about 1” away from your egg opening.
6. Hot glue blue trim directly against opening on egg.
7. Hot glue pearl trim to center of blue trim.
8. Tape photo to bamboo stick.
9. Tape 3 egg cut outs and bunny to each of their own bamboo sticks.
10. Arrange photo, egg cut out, and bunny to your liking, and stick into Styrofoam.
11. Place Styrofoam into bottom of egg.
12. Insert green Easter grass into egg covering bottom of Styrofoam.
13. Optional: Cover outside of egg with Mod Podge to seal lace.
14. Glue one end of 3” paper strip to another to create a circle. Measure circle against egg. Egg bottom should fit into your paper circle for a base. When satisfied, glue second end of paper to close.
15. Place Easter egg into your paper base and display.
Video:
Read NextColorful Confetti Easter Eggs

