End of the Rainbow Treat Bag
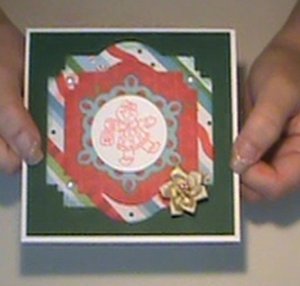
Just like the pot of gold at the end of the rainbow, this candy treat bag is a reward that everyone will be looking forward to! Whether you're having a St. Patricks Day party for kids or adults, the End of the Rainbow Treat Bag is the perfect DIY party favor! Learn how to create your own cute and crafty treat bags with these simple instructions from craft designer Carlene Eshelman.
Materials:
- Brown lunch bag
- Mini cabinet die cut
- Big shot machine
- Transparency
- stapler
- 2 fabric flowers
- st.patricks coin
- 1"x 6" strip of green paper
- Hot glue gun
- image stamped on white cardstock
- 6" lace
- Scissors
- Liquid glue
Instructions:
1. Place die inside center of bag and cut.
2. Glue transparency to cover inside of bag.
3. Glue lace to bottom of bag.
4. Glue flowers to right side.
5. Glue coin to center of flowers.
6. Glue green strip to bag about 4" from top of bag.
7. Glue stamped image to center of green strip.
8. Color stamped image if desired.
9. Place your treat in bag, then fold bag down to green strip and staple on 2 sides.
Video:
Read NextLucky Charms Cookie Recipe
Your Recently Viewed Projects
Report Inappropriate Comment
Are you sure you would like to report this comment? It will be flagged for our moderators to take action.
Thank you for taking the time to improve the content on our site.

