How to Make a Halloween Banner
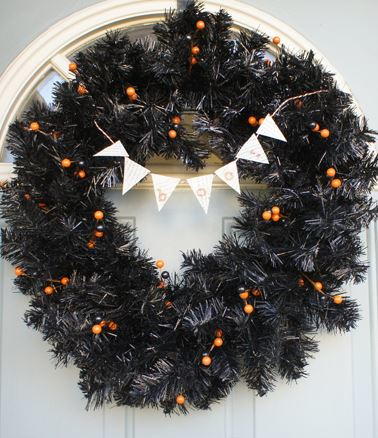
Planning a party for October 31st and need some easy-to-make Halloween decorations? It doesn't get much simpler than a cute Halloween garland like the one in this tutorial! Learn How to Make a Halloween Banner by following these easy steps!
For more projects by Carlene, check out her designer profile page!

Materials:
- 3 6x6 coordinating scrapbook papers
- 24” 3/8” black satin ribbon
- Black cardstock for letters
- Matching flowers/buttons
- Hot glue gun
- Small piece of spider webbing
- 1 black plastic spider
- Spellbinder nested lacey pennants
- Old west cricut cartridge
- Optional- black soot stickles
Instructions:
1. Cut out 3 large pennants using spellbinder die, and 3 different 6x6 papers.
2. Using old west cricut cartridge, cut out the word “boo” on black cardstock. Use 3” setting. If you don’t have this, you can also just free hand the word “boo” and cut it out.
3. Using hot glue gun, adhere banner and letters on to middle of black ribbon (as shown).

4. Add embellishments such as flowers/buttons to banner as desired.

5. Add spider webbing to banner, and adhere end with tape to the back of the banner.

6. Optional: Add black soot stickles to the word “boo” and let dry.
Video:
Read NextSpooky DIY Lighting Ideas

